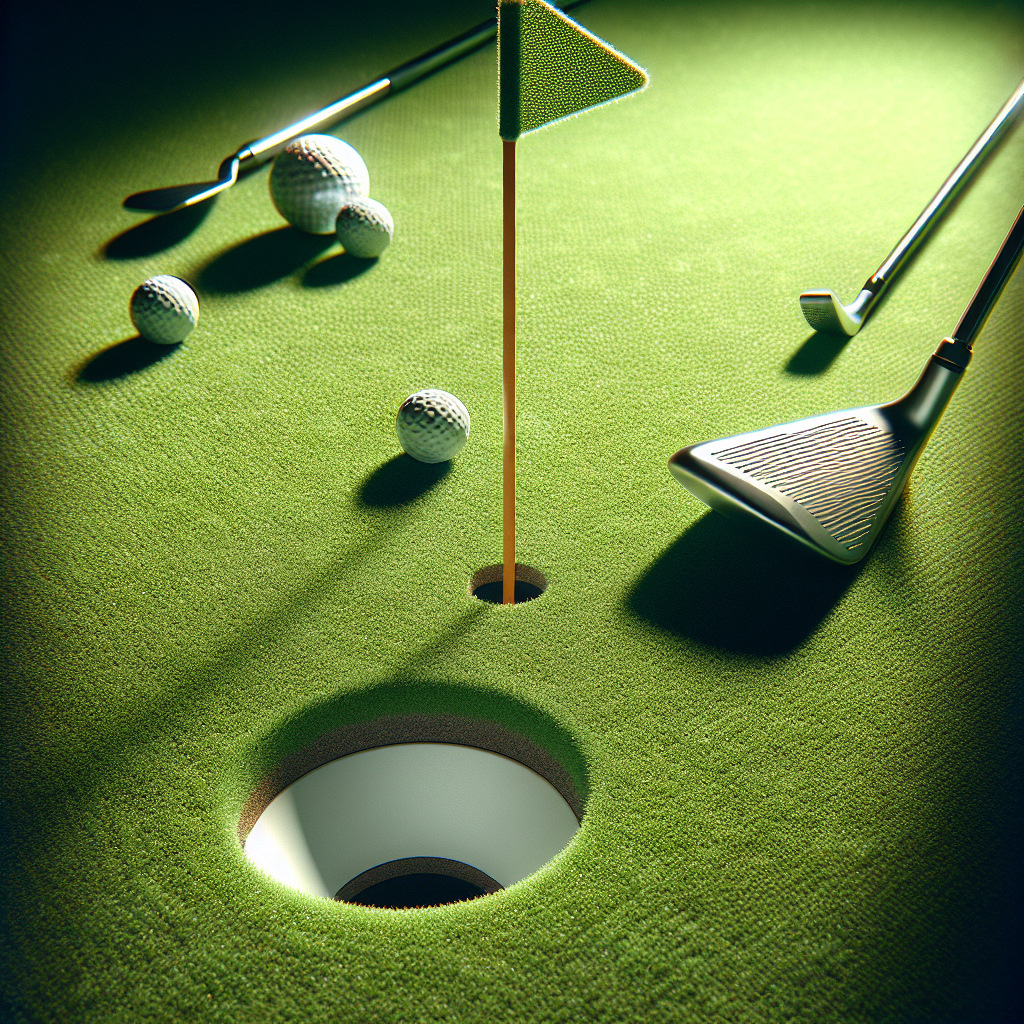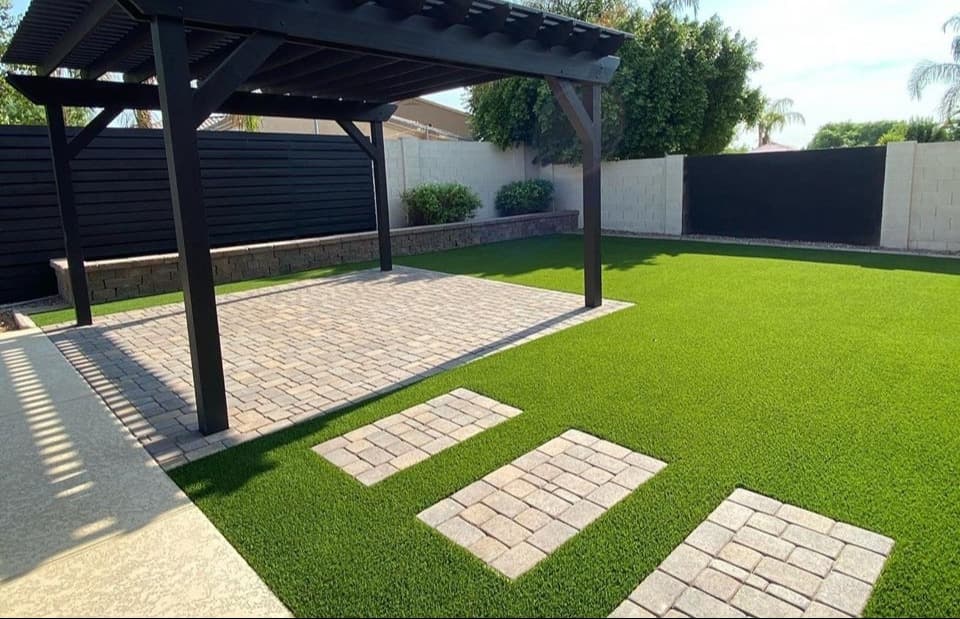
Picture this: A lush, perfectly manicured green right in your backyard, where you can practice your putting game anytime. This dream can become a reality, but to achieve it, you need to start with a solid foundation. The base of your artificial putting green is like the roots of a tree, providing stability and nourishment for the surface above. Let’s dive into the details of what makes the best base for an artificial putting green and how you can create the ultimate golf practice area.
The base of an artificial putting green is crucial for several reasons. It ensures the green remains level, drains properly, and provides a firm surface for the turf. Without a proper base, your putting green could suffer from uneven surfaces, poor drainage, and even damage over time. A well-constructed base is the bedrock of a high-performing and long-lasting artificial putting green.
Crushed stone is one of the most popular choices for a putting green base. It compacts well, offers excellent drainage, and provides a stable foundation. Think of it as the backbone of your putting green, offering support and resilience.
This material is a finer option than crushed stone, providing a smoother finish while still maintaining good drainage and compaction properties. It’s like the fine sandpaper to the rougher grit of crushed stone, ensuring a sleek and professional look.
While not as commonly used as crushed stone or decomposed granite, sand can be a viable option for the base. However, it requires proper compaction and may need additional stabilization to prevent shifting.
Clear the area of any debris, rocks, or vegetation. Level the ground and ensure proper slope for drainage.
Use bender board or other edging materials to outline the shape of your putting green. This helps contain the base materials and provides a clean edge.
Spread the chosen base material (crushed stone, decomposed granite, or sand) evenly across the area. Aim for a depth of 4-6 inches.
Use a plate compactor to firmly compact the base material, ensuring a solid and level surface. This step is akin to packing down snow to create a smooth sledding hill; it’s all about creating that perfect surface.
Lay down a weed barrier fabric to prevent any unwanted growth from disrupting your green.
Roll out your artificial turf over the prepared base, making sure it fits snugly within the perimeter edging. Secure it with landscape nails or adhesive as recommended by the manufacturer.
A well-maintained putting green will provide years of enjoyment. Regularly brush the turf to keep it upright and free of debris. Periodically check and repair any seams or edges that may come loose. It’s like tending to a prized garden; regular care ensures ongoing beauty and functionality.
The best base material depends on your specific needs, but crushed stone and decomposed granite are highly recommended for their stability and drainage properties.
A depth of 4-6 inches is typically sufficient for a durable and stable base.
Yes, installing a weed barrier helps prevent unwanted vegetation from growing through your putting green.
Creating the perfect artificial putting green starts with selecting the right base. By understanding the importance of a solid foundation and following best practices for installation and maintenance, you can ensure your green remains in peak condition for years to come. So why wait? Begin laying the groundwork today and soon you’ll have a personal oasis where you can refine your golf skills anytime you wish.
For more detailed guidelines on building and maintaining artificial putting greens, check out resources provided by USGA. To explore further about sustainable landscaping practices, visit EPA Green Acres.


